Monday, January 16, 2017

Card sketches

when I started making cards; I wanted to make millions of them! And I wanted to create cards for everyone...so I tried different techniques.
I would spend time to draw different designs and I discovered that I could find help on internet for inspiration;
Today I want to share this ultimate ressource for card maker that give you 101 layouts and ideas to unleash your creativity.
To access this great ressource Click Here!

Here is a sample of a layout with two different designs

I hope you will find some inspiration to create your own beautiful handmade cards.

Saturday, March 5, 2016

Update

I am slowly coming by online...Working on my website: http://sybillinart.com
and creating few more items when i find the time for it.
Thank you for your visit, patience and support.

for now here are few of my new items:


few new glass necklaces

mini picture frame

sunflowers and butterfly switch plate cover

Tuesday, February 4, 2014

Cute crochet diaper cover

As I planned to use some cloth diaper and try the elimination communication for my new baby, I decided to crochet some diaper cover that I will double with cloth diaper for the beginning.
They are easy and quick to make and I think super cute too!
I made few different colors to match some other clothes and blanket:


here is the video (pattern) that help me made it:

Thank you Yolanda!


Shared on:
(#409)
 Tip junkie tip me Tuesday


Sunday, January 19, 2014

Crochet baskets

January is a good month to think of organization!
So, I made these to cute little baskets to clean up and decorate around my bathroom sink.
They a pretty easy to make.
One is a round shape and the other one more rectangular.
You can use them to arrange, sort out anything you want and match the color with your place/room.


I found the round pattern on Moogly website

and here is the video for the rectangular one:


Thank you for stopping by!

Shared on:
(#384)


Tuesday, December 31, 2013

Baby cocoon and hat

I finally finished my baby cocoon and hat!
and this is my last project for 2013!
It was a long project and I think it's pretty cute!


I used the cocoon pattern from RedHeart
and the hat from Hookedonneedles blog
(really easy tutorial with pictures)
Thank you!

This year wasn't as creative as I wanted to but I had other interesting experiences and being pregnant is a huge creative process!

I hope I will be able to manage some creative time in 2014...

Shared on:
#115
Tip Junkie Handmade Projects

Wednesday, November 6, 2013

Something different!

While I am still waiting for my decoupage and scrapbooking supplies I had to keep my hands busy!
As my daughter started to knit, it motivate me to crochet again (I did a little baby set 21 years ago!)...
So, I bought some crochets and yarn, watch some tutorial to refresh my memory and here we go!
I did 2 little cardigan with my personal touch, a little hat and some booties for the baby to come...

Here is a cute Cardigan with a little hat and booties:


Here is the video that help me for the cardigan:


Here is the video that help me for the booties (then follow part 2,3 and 4):


I don't remember where I got the pattern for the hat but you can easily find free one on the web.

And here is another cute one:


Here is the video tutorial:

I Thank you everyone for the great video tutorial...


Saturday, August 3, 2013

Just a little note!

Just a little note to all my followers and visitors...

As I moved to another country, my blog is on stand by, I still love everything crafty and I can't wait to get my hands on my supplies again, that are travelling in a container.

Be patient! 

Tuesday, March 26, 2013

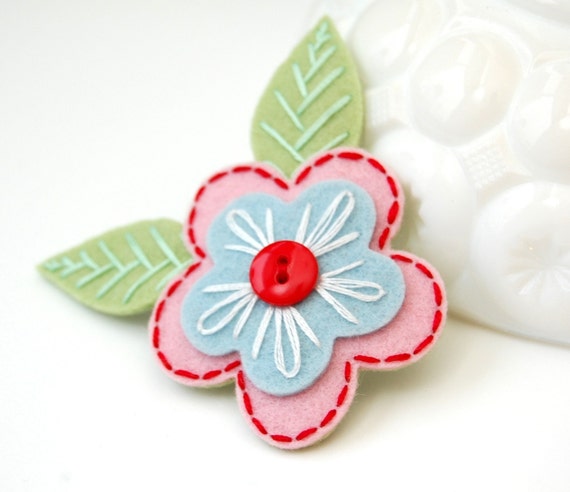
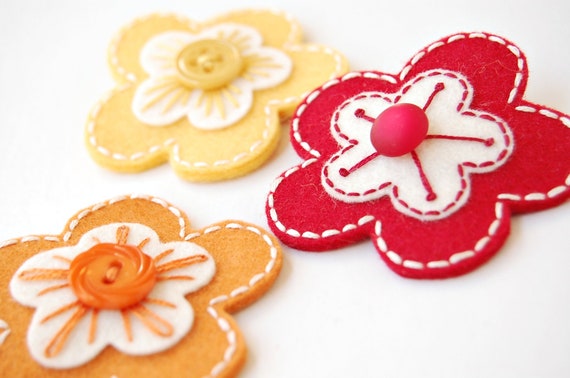
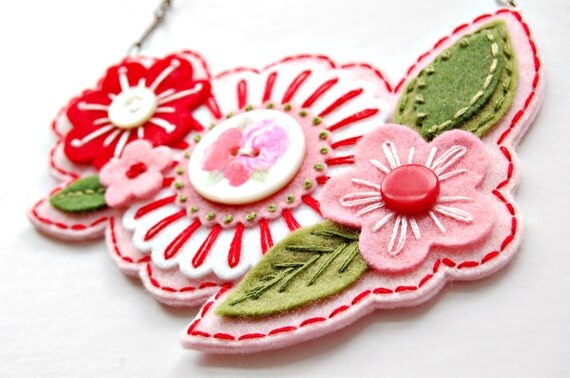
Artist Feature : The Art of Embroidery

This year I wasn't able to do the National craft month (as some of you know, I was busy renovating my basement!)...
But my creativity and my eye for beautiful creation bring me today to introduce you to Melissa from SewSweetStiches.

Melissa has a passion for fiber especially for sewing and embroidery (It was one of my first passion too!)


She makes such beautiful and intricate accessories.
So pretty, like a little sunshine in every of her pieces!


Simple to sophisticated!...
She was kind enough to even share her creative process on her blog; Check it out!


They are so perfect for Spring!
I just Love them all!

Happy Spring!
May Spring brings you more creative ideas!...


Sunday, January 20, 2013

Go Green!

In one of my blog I wrote about doing something to help to protect our planet...
and I want to promote here some shops that I like for their handmade products...


If you have a shop with Beauty and Home products, feel free to add it to the list!:

Wednesday, January 16, 2013

Ipad sleeve Tutorial

I took a break in my cleaning, sorting out stuff to create a little something for me but I thought of sharing it with you!
It has been a long time since I sewed, and since I received an ipad for Christmas I thought of doing a cozy sleeve for when I will travel with it!
I had this pretty fabric that I have saved preciously and I finally found a perfect project for it!
Sewing was the very first creative thing I've learned; I took one year in a school in Paris as I wanted to became a stylist but I changed my mind and took another career!...
I used to make my own clothes...

So anyway... here is my pretty Ipad sleeve!


and a little tutorial for you; actually 2 ways of doing it!

Option 1:

- Cut your fabric and fleece in the size of your ipad + 1.5cm for the sewing
- Sew the printed fabric and the sleeve face to face
- Flip it over
- Sew the inside border
- Fold the fabric face to face and sew the 2 sides
leaving the flap.
- Then turn it over.

Here is a little video that can help:


Option 2:

- Cut your fabric and fleece in the size of your ipad + 1.5cm for the sewing
- Sew the flap (fabric face to face) and flip it over
- Sew the inside border
- place the sleeve printed fabric on printed fabric and sew the borders
- Flip it over and iron if needed!

Video #2:


Here are the measurements I used for
The ipad without cover: 50.5cm  (54cm for the printed fabric) X 26cm
The Ipad with cover : 56.5cm (60cm for the printed fabric) X 30cm

I hope it will help you to make your very own Ipad sleeve ;)

I appreciate your comments...


Shared on:

Tip Junkie

Thursday, December 13, 2012

Decoupage a glass plate Tutorial

After few request here is a Tutorial on how I decoupage my glass plates:


You will need: 
a glass plate
modpodge
a pretty paper napkin 
Scissors
Foam brush
and white silk or rice paper
some varnish

Start by peeling of the two white layer or your napkins 
and cut the part that you want to apply on the plate

Apply a layer of modpodge on your clean plate (at the back)


Gently glue the paper napkin face on the glass
and add another layer of modpodge

Let dry

Cut the extra paper around


and apply the silk paper with more modpodge!

Smooth the surface with your finger 
and

add more modpodge!

When it's dry repeat the cutting edge all around.


To remove some wrinkles you can iron the plate with a low iron 
and a parchment paper on top to protect it.
To finish it apply few layers of varnish at the back


I hope you enjoyed!
and that will inspire you to make a nice Santa plate too!
(Or any other design!)


Shared on:
Craftori

Friday, December 7, 2012

Gift box Tutorial

This Holiday Season is a great Season with a wonderful spirit of giving, Joy, happiness and more.
Making gift is so exciting and I think a pretty package is important too!
There is many way to make pretty packages:
From wrapping paper to kraft paper.
Today I am sharing with you a cute box for your little present (for jewelry, magnets, small accessories and more!).
I found a kraft paper box in my daughter's room and I decided to gave it a make over!

You can find kraft paper box in any craft shop...

Here is a quick video for you:


Try our video maker at Animoto.


and the details below!:

Grab your supplies:
Kraft paper box, scrapbook paper, ribbon, lace, flower,paper leaves, 
snowflake punch, white cabochon
glue

Cute the papers the size of your box

and modpodge it

Add another layer of modpodge and let it dry

Decorate it with your treasures!...

Add ribbon, lace, flowers, cabochon, glitter....

and you have a pretty box for your precious little gift!


I hope it has inspire you!
Please show us YOUR gift box!

Related Posts Plugin for WordPress, Blogger...