Showing posts with label decoupage. Show all posts

Saturday, March 5, 2016

Update

I am slowly coming by online...Working on my website: http://sybillinart.com
and creating few more items when i find the time for it.
Thank you for your visit, patience and support.

for now here are few of my new items:


few new glass necklaces

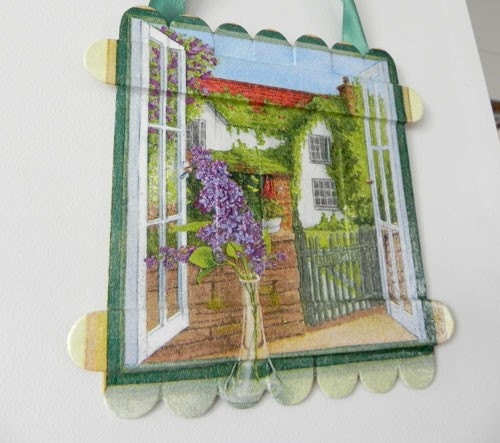
mini picture frame

sunflowers and butterfly switch plate cover

Tuesday, October 9, 2012

Jewelry Box

Coming back to share a little detail in our staging...
I just made a jewelry box that will decorate my bathroom and it is assorted with the switch plates I made!
Decorative and useful!


There is 3 paint colors and I decoupage the main image.
It's the same technique that my little plaque tutorial.

and here some pictures with the assorted switch plate:


I am really happy with my new jewelry box!
Now I will have a pretty place for the nice necklaces I bought on Etsy!


If you want more information about decoupage visit my website: www.sybillinart.com


Shared on:
(#579)


Wednesday, September 26, 2012

Blessing words frame

Here is a video tutorial to make yourself a blessing words frame:


Hope you'll enjoy!

This paper napkin is in my album:
You can buy it through my other Etsy shop


Featured on:
my craftgawker gallery

Shared on:
(#73 = #52)
Fine Craft Guild


Thursday, June 7, 2012

Staging accessories

As some of you know We are working on renovating and staging our house to sale it;
It's a long process with a long list but step by step we are getting there!
Today I want to share some accessories I made for staging my bedroom...
The colors in the bedroom are sand, gold, white and dark blue.
I made this tissue box assorted to the switch lights
Here is a sneak peek!


I will take picture of the bedroom when I will find a nice bedding cover!

Share on:
 Somewhat Simple

Tuesday, May 29, 2012

FLASH SALE


Today's FLASH SALE is this pretty wall decoration:

Get it for 50%off while it's still here!:


Check the every day Flash Sale on my Facebook page!

Monday, May 28, 2012

Flash Sale

As we are in the process of searching a new Home; I've Starting a Flash Sale in my shop;

Check today's 50%off item: 


will be on flash sale till June 7th... Don't miss it!

Friday, April 20, 2012

Altered/ Modpodge Clipboard

One more thing that was on my creative to do list!
Decorate my clipboard!
Today I took the time to make it!

I choose one of my favorite scrapbook paper and I decided to decorate both side.

Here are the supplies needed:
- A Clipboard
- Modpodge
- Foam brush
- Scrapbook paper
- Brayer (optional)
- Paint
- varnish
- Ribbons (optional)


 1st Paint the borders of your clipboard

 if you want to decorate the back too, then paint it!
 If you don't want to varnish your scrapbook paper, I would recommend to varnish your paint at this step.

I cut my paper a little smaller than the clipboard, take some measurement to cut around the hardware,
Then I cut the corners to make them round and
ink all around.

Modpodge your clipboard
 Do both sides if you wish.

and glue the paper,
Then if you have a brayer, roll it! or you can do it with a bone folder to take off any bubbles.

You can varnish it if you like
(I applied a layer of sprayed varnish)
 (this is the back side!)

and you can also add some ribbons to the hardware
(I like mine like that!)...

Way better than a sad brown clipboard! 


I hope you enjoyed!


Shared on:
A Little Knick Knack

Chic on a Shoestring Decorating


Featured on:
my craftgawker gallery

Friday, March 9, 2012

Love Birds

During a visit at Michaels, these little birdies called me!
They are like paper macher (craft paper) bird shape; and there is also butterflies and fruits.
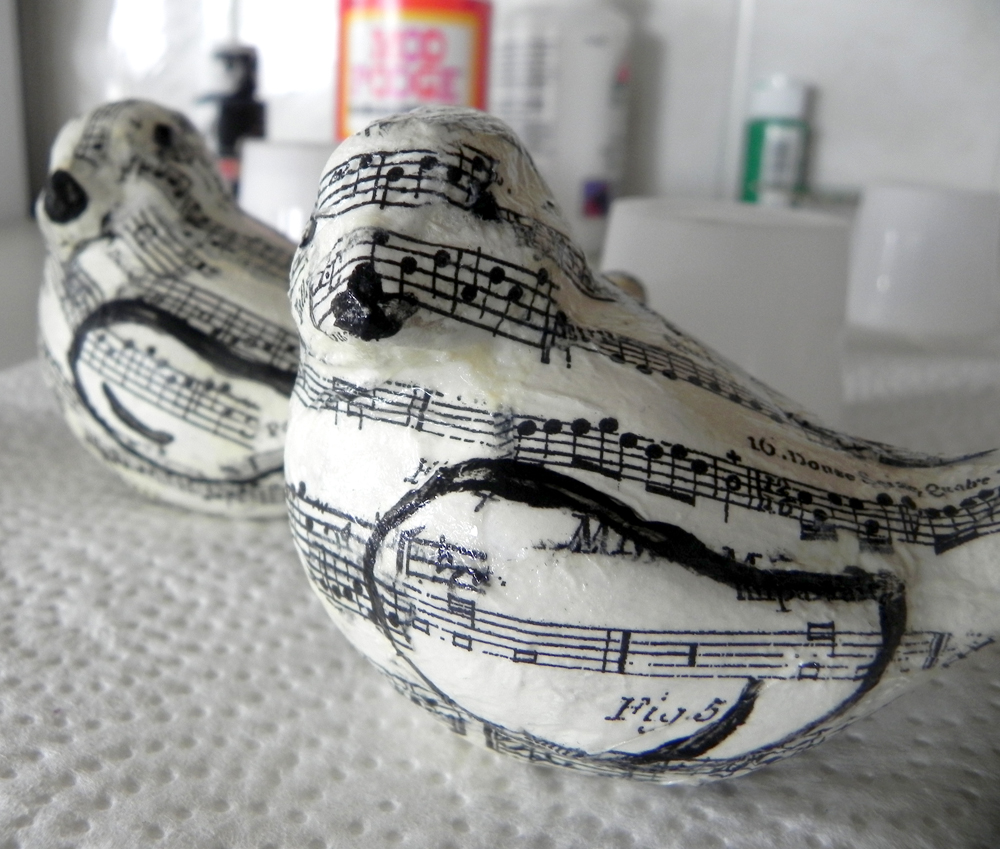
I immediately imagine them with some music scores on them!
I was too impatient to start my project and forgot to take a picture of the supplies!
So, you'll need:
- some paper macher shape
- white and black acrylic paint
- modpodge
- paper napkin with music score or old music sheet
- foam paintbrush
- varnish
- embellishments

First paint your bird (or other shape) with one or 2 layers of white paint


 While the paint dry, tear some pieces of your paper
When the paint is dry, start to glue your pieces on the bird

Cover the whole bird with your paper...

 Add a layer of modpodge and let it dry.

When it's dry apply some black paint on the beak and the wing
 let it dry

Here is a detail of the painting

Apply one or 2 layers of varnish


Grab some embellishments and have fun!


 Here I've added a black ribbon around their neck, a white feather cut in half , a little rose
and some black half pearl on the eyes


 and a silver pearl on the ribbon


 They will make a lovely decoration for a wedding or a romantic living room!


Hope you've enjoyed!


Shared on:

Chic on a Shoestring Decorating


Weekend Bloggy Reading


Related Posts Plugin for WordPress, Blogger...