While I am still waiting for my decoupage and scrapbooking supplies I had to keep my hands busy!
As my daughter started to knit, it motivate me to crochet again (I did a little baby set 21 years ago!)...
So, I bought some crochets and yarn, watch some tutorial to refresh my memory and here we go!
I did 2 little cardigan with my personal touch, a little hat and some booties for the baby to come...
Here is a cute Cardigan with a little hat and booties:
Here is the video that help me for the cardigan:
Here is the video that help me for the booties (then follow part 2,3 and 4):
I don't remember where I got the pattern for the hat but you can easily find free one on the web.
And here is another cute one:
Here is the video tutorial:
I Thank you everyone for the great video tutorial...
Just a little note to all my followers and visitors...
As I moved to another country, my blog is on stand by, I still love everything crafty and I can't wait to get my hands on my supplies again, that are travelling in a container.
This year I wasn't able to do the National craft month (as some of you know, I was busy renovating my basement!)...
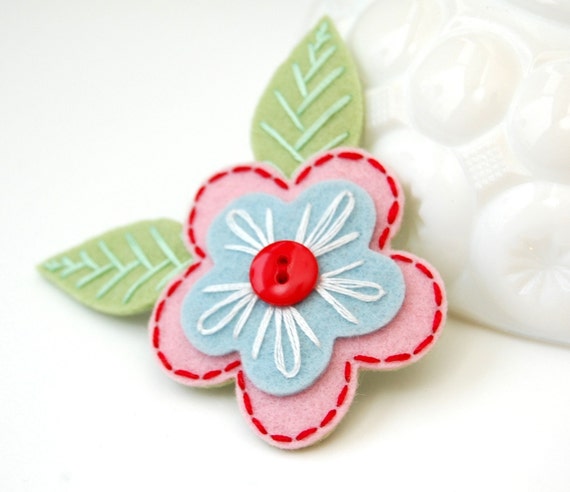
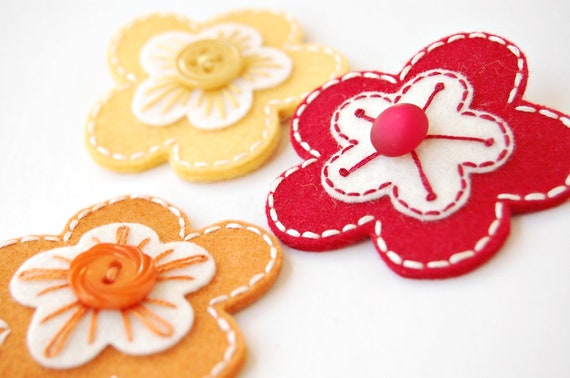
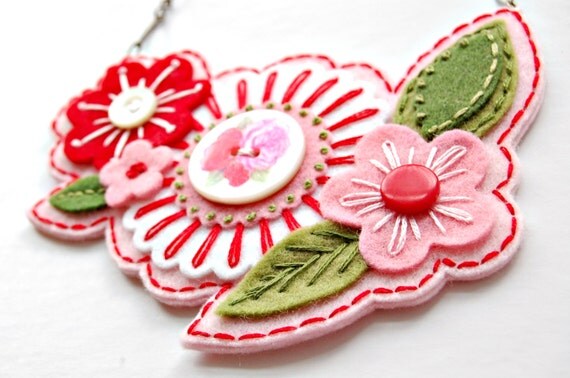
But my creativity and my eye for beautiful creation bring me today to introduce you to Melissa from SewSweetStiches.
Melissa has a passion for fiber especially for sewing and embroidery (It was one of my first passion too!)
She makes such beautiful and intricate accessories.
So pretty, like a little sunshine in every of her pieces!
Simple to sophisticated!...
She was kind enough to even share her creative process on her blog; Check it out!
I took a break in my cleaning, sorting out stuff to create a little something for me but I thought of sharing it with you!
It has been a long time since I sewed, and since I received an ipad for Christmas I thought of doing a cozy sleeve for when I will travel with it!
I had this pretty fabric that I have saved preciously and I finally found a perfect project for it!
Sewing was the very first creative thing I've learned; I took one year in a school in Paris as I wanted to became a stylist but I changed my mind and took another career!...
I used to make my own clothes...
So anyway... here is my pretty Ipad sleeve!
and a little tutorial for you; actually 2 ways of doing it!
Option 1:
- Cut your fabric and fleece in the size of your ipad + 1.5cm for the sewing
- Sew the printed fabric and the sleeve face to face
- Flip it over
- Sew the inside border
- Fold the fabric face to face and sew the 2 sides
leaving the flap.
- Then turn it over.
Here is a little video that can help:
Option 2:
- Cut your fabric and fleece in the size of your ipad + 1.5cm for the sewing
- Sew the flap (fabric face to face) and flip it over
- Sew the inside border
- place the sleeve printed fabric on printed fabric and sew the borders
- Flip it over and iron if needed!
Video #2:
Here are the measurements I used for
The ipad without cover: 50.5cm (54cm for the printed fabric) X 26cm
The Ipad with cover : 56.5cm (60cm for the printed fabric) X 30cm
I hope it will help you to make your very own Ipad sleeve ;)