
This and that but everything Craft!...
Showing posts with label step by step. Show all posts
Showing posts with label step by step. Show all posts
Wednesday, September 26, 2012




Friday, March 23, 2012
Butterflies Collection
This is a project I had on my to do list since last year!... It's a fun and easy project that takes your punches to another level!


Shared on:


Here is what you'll need:
- a shadow box (I found mine at a dollar store!)
- some sans paper
- paint
- assorted paper
- butterfly punch
- glue dot
- double side tape
- varnish
- ink
Hope you'll enjoy the step by step Video:
Shared on:
Friday, March 9, 2012
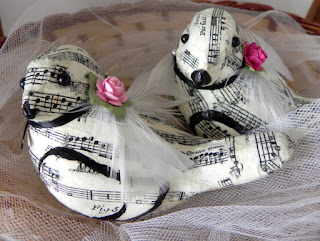
Love Birds
During a visit at Michaels, these little birdies called me!
They are like paper macher (craft paper) bird shape; and there is also butterflies and fruits.
I immediately imagine them with some music scores on them!
I was too impatient to start my project and forgot to take a picture of the supplies!
So, you'll need:
- some paper macher shape
- white and black acrylic paint
- modpodge
- paper napkin with music score or old music sheet
- foam paintbrush
- varnish
- embellishments


While the paint dry, tear some pieces of your paper




Shared on:


They are like paper macher (craft paper) bird shape; and there is also butterflies and fruits.
I immediately imagine them with some music scores on them!
I was too impatient to start my project and forgot to take a picture of the supplies!
So, you'll need:
- some paper macher shape
- white and black acrylic paint
- modpodge
- paper napkin with music score or old music sheet
- foam paintbrush
- varnish
- embellishments
First paint your bird (or other shape) with one or 2 layers of white paint


While the paint dry, tear some pieces of your paper
When the paint is dry, start to glue your pieces on the bird

Cover the whole bird with your paper...

Add a layer of modpodge and let it dry.

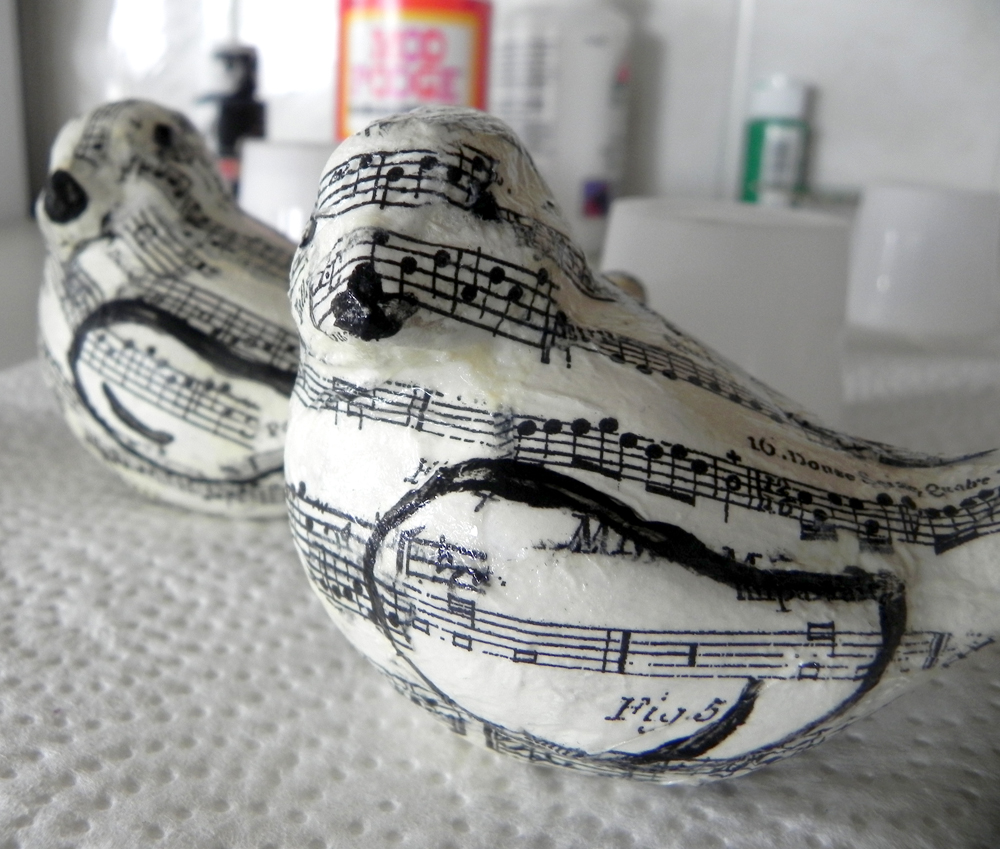
When it's dry apply some black paint on the beak and the wing

let it dry

Here is a detail of the painting

Apply one or 2 layers of varnish

Grab some embellishments and have fun!

Here I've added a black ribbon around their neck, a white feather cut in half , a little rose
and some black half pearl on the eyes


and a silver pearl on the ribbon


They will make a lovely decoration for a wedding or a romantic living room!


Hope you've enjoyed!
Shared on:
Wednesday, March 7, 2012
St Patrick notecard
We cannot have everything for every celebration! But...You can use your other supplies to create a St Patrick little notecard!
Here I used some Christmas paper, baby theme paper, and a valentine punch!
 Grab ...
- some green scrap paper (here a Christmas paper!)
- a piece of 2" x 4" cardstock (or bigger) fold in half
- a background paper a little bit smaller than your cardstock (here a baby theme paper)
- some glue, glue dots,
- ink
- marker, gel pen
- embellishement

Punch 4 hearts, ink them around and fold them in half to give them some dimension.


Here I used some Christmas paper, baby theme paper, and a valentine punch!

- some green scrap paper (here a Christmas paper!)
- a piece of 2" x 4" cardstock (or bigger) fold in half
- a background paper a little bit smaller than your cardstock (here a baby theme paper)
- some glue, glue dots,
- ink
- marker, gel pen
- embellishement

Punch 4 hearts, ink them around and fold them in half to give them some dimension.

Ink your background paper -
You can also cut it small and add a dark green cardstock to it.

Apply a glue dot where you want your 4 leaf clover to be...

and place the petals.

Draw a stem and outline it with a gel or black pen.

Glue your background paper to your notecard and add
a little gemstone...(if you want!)

Enjoy your St Patrick little notecard...

Shared on:
Monday, March 14, 2011
My bunnies are arrived!
Last week I participated in few blog parties and I discovered some great ideas and blogs;
I fell in love with these bunnies made by "The crafty girl workshop"; and she was very kind to offer me the patterns;
So this last week-end I cut, painted and decorated my bunnies!
A huge Thank you to Irene.

Bunnies cut with my scroll saw (Yes, I did it myself!)

Painted in an colour that matched my papers

Cut the paper to fit the wood shapes
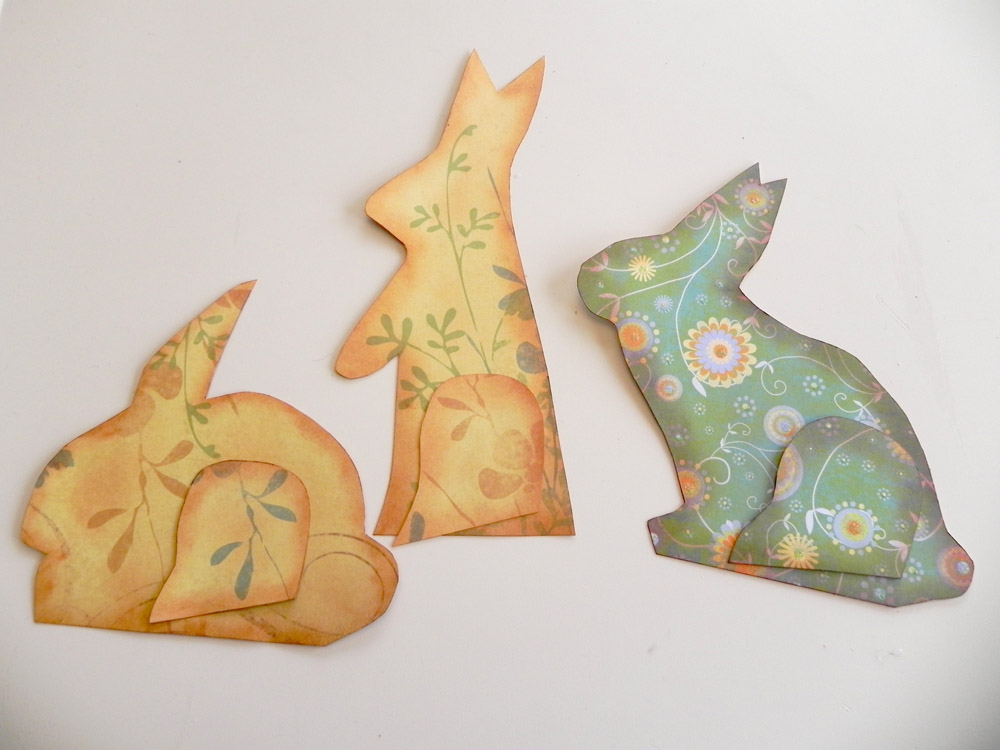
Inked all around to add some dimensions and shadows
then glued (with modpodge) and decorated (just a little ribbon!)


I wanted to add a big cream or brown pompom on the small bunny but I didn't have some in stock!
Please visit Irene's Bunnies!

Shared on:





Subscribe to:
Posts (Atom)
